
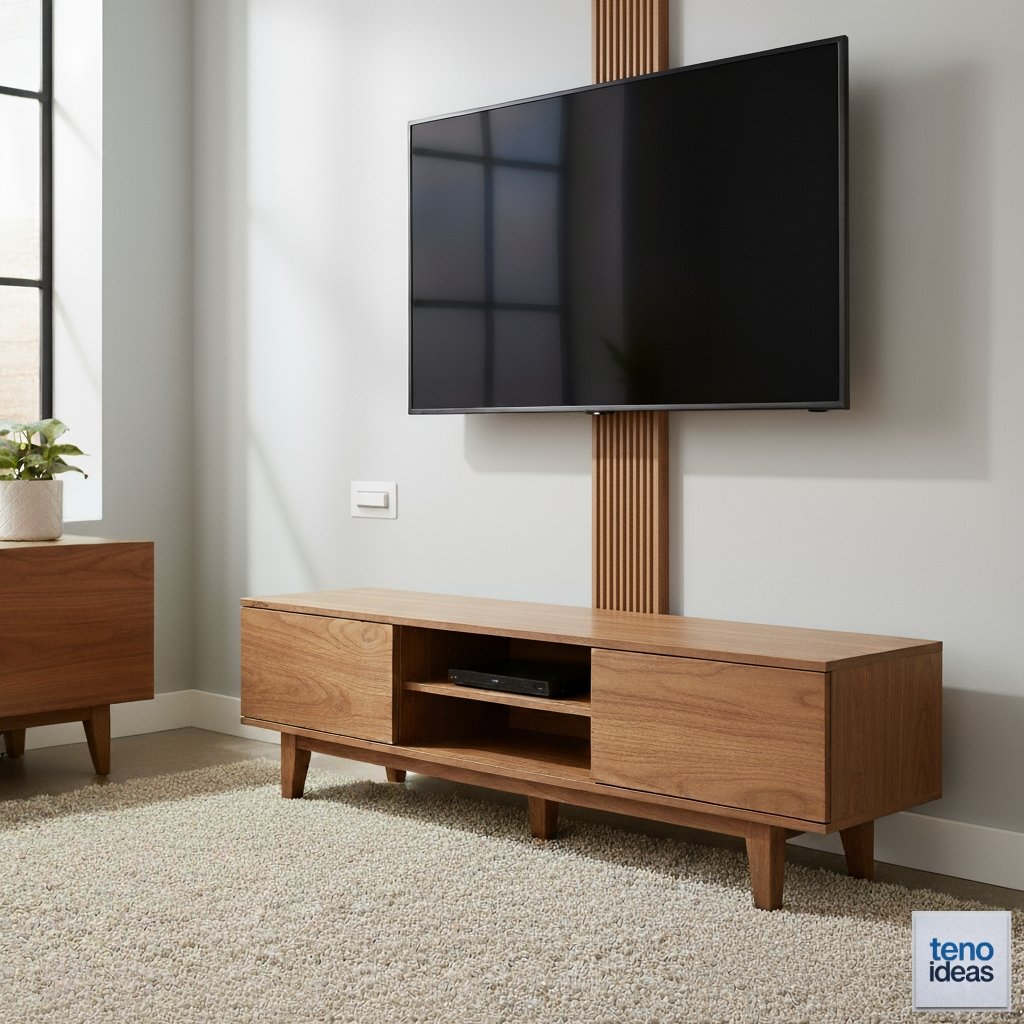
Wall-mounted TVs create a sleek, modern look in any room. But dangling cords can ruin that clean aesthetic.
Those visible cables not only look messy but can also pose safety risks and collect dust.
The good news? You don’t need to hire an electrician or spend hundreds of dollars to solve this problem.
With the right approach, you can hide your TV cords in about an hour using simple tools and techniques.
This guide walks you through eight proven methods to conceal your mounted TV cables.
From basic cord covers to more advanced in-wall solutions, you’ll find an option that fits your skill level and budget.
Method 1: Use Adhesive Cord Covers
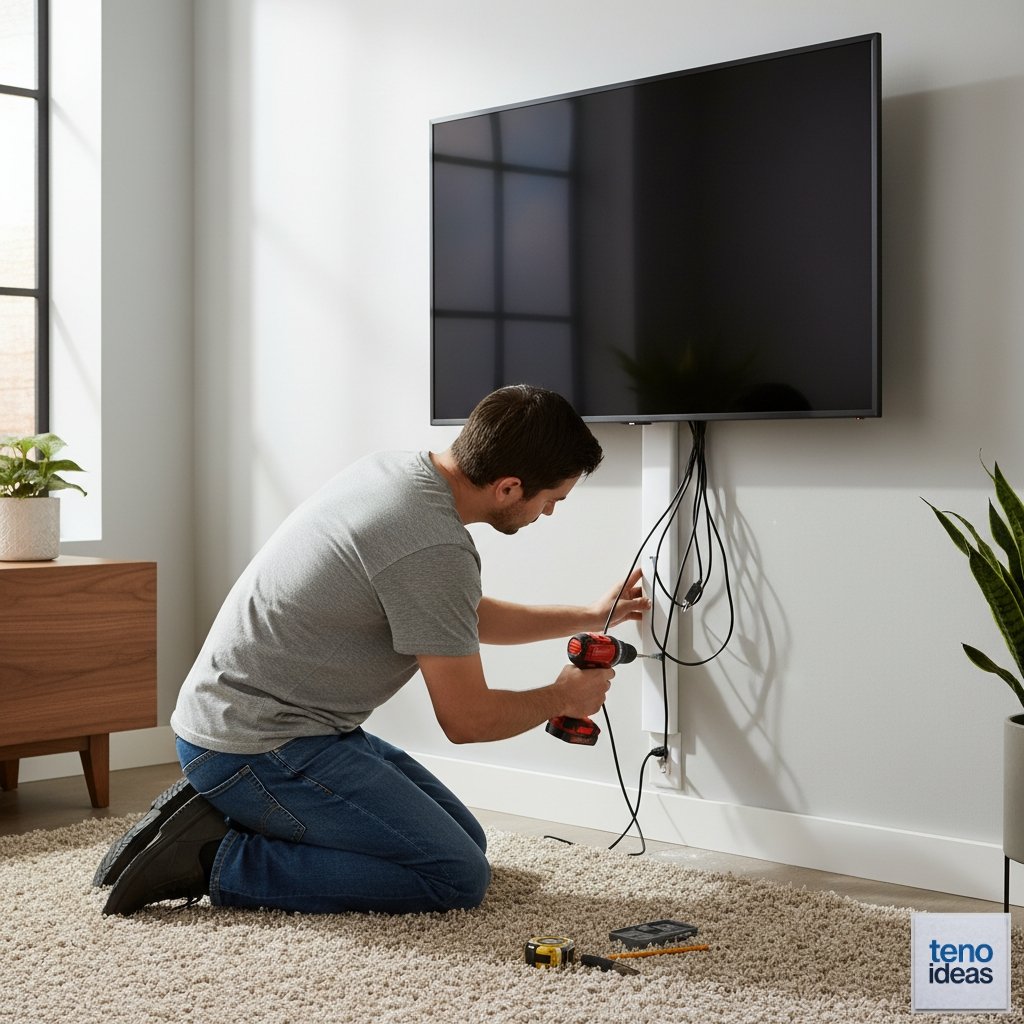
Cord covers offer the simplest solution for hiding TV cables. These plastic channels stick directly to your wall and create a clean pathway for your wires.
What You’ll Need:
- Adhesive cord covers (raceway)
- Measuring tape
- Level
- Scissors or hacksaw
- Cable clips (optional)
Step-by-Step Instructions:
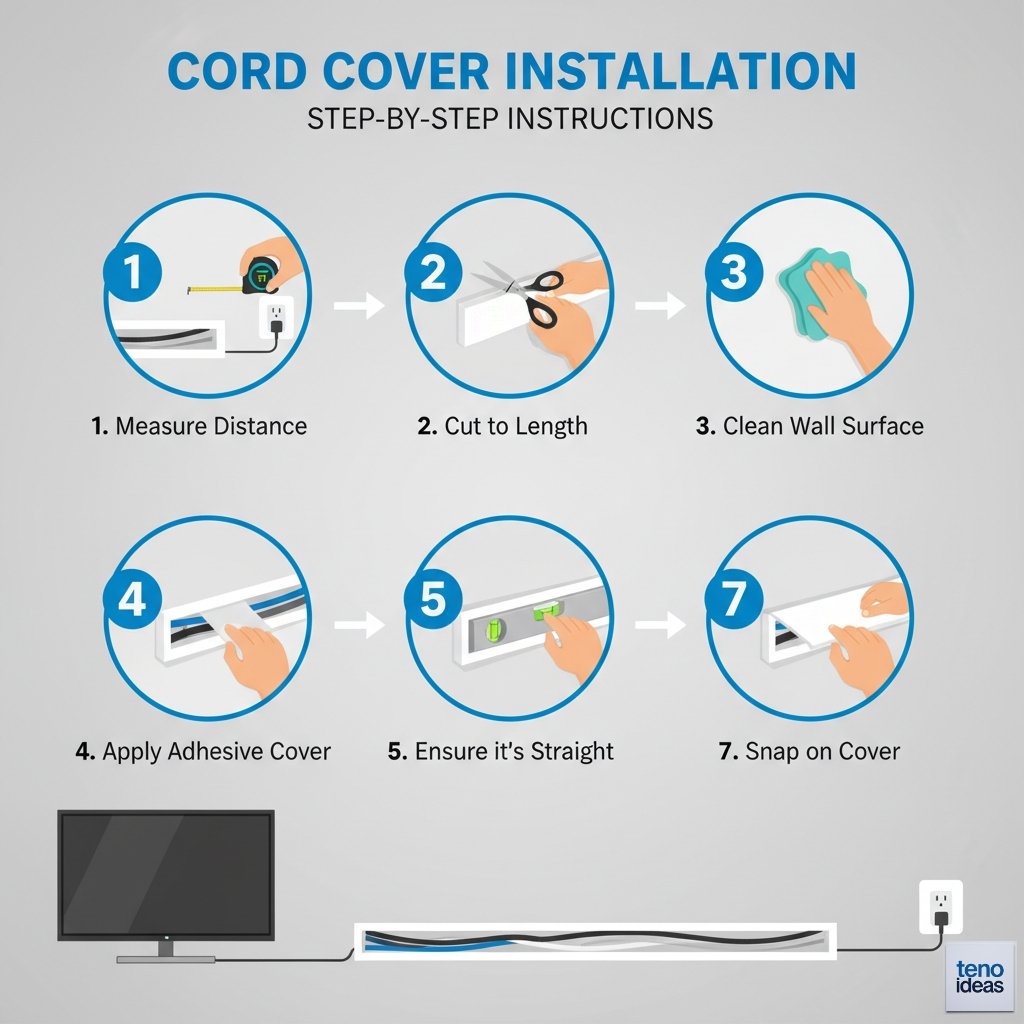
- Measure the distance from your TV to the power outlet or cable box
- Cut the cord cover to the required length using scissors or a hacksaw
- Clean the wall surface where you’ll apply the cover
- Remove the adhesive backing and press the cover firmly against the wall
- Use a level to ensure the cover runs straight
- Insert your cables into the channel
- Snap on the cover piece to close the channel
This method works best on smooth walls. The covers come in various colors to match your wall paint.
Method 2: Paint Cord Covers to Match Your Wall

Standard cord covers come in white or off-white colors. If your walls are a different color, painting the covers helps them blend seamlessly.
Steps to Paint Cord Covers:
- Clean the cord covers with a damp cloth
- Apply primer designed for plastic surfaces
- Let the primer dry for 2-3 hours
- Paint with matching wall color using a small brush
- Apply two thin coats for even coverage
- Allow 24 hours for complete drying before installation
Choose paint that matches your exact wall color. Many hardware stores can color-match paint samples.
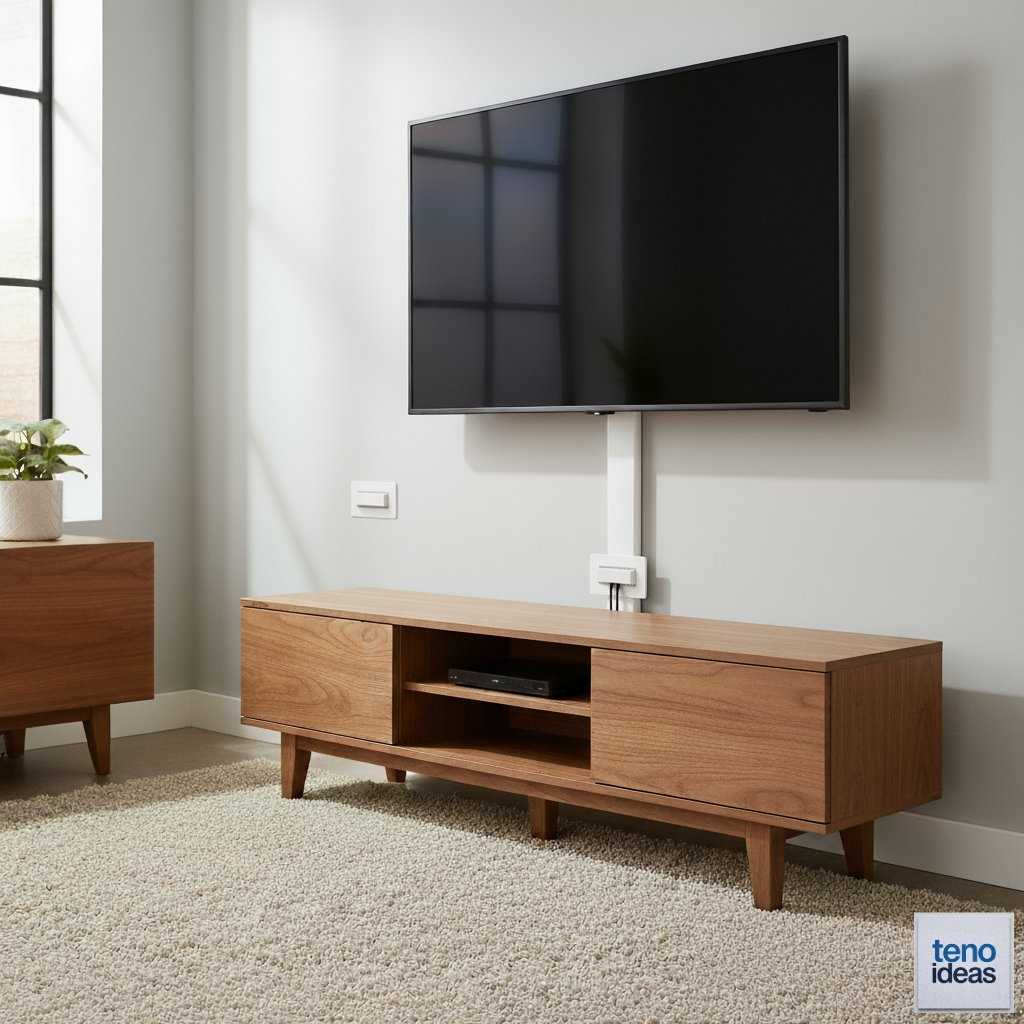
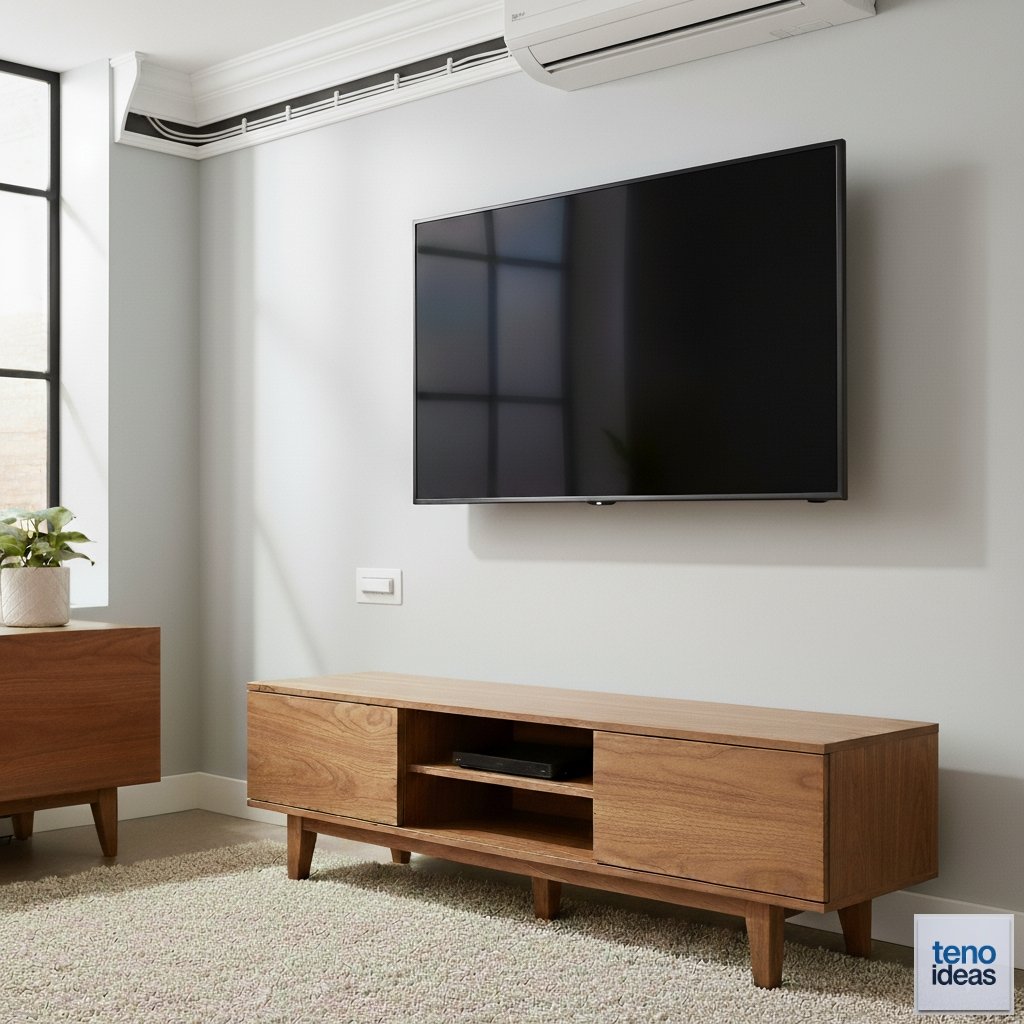
Method 3: Run Cables Behind Furniture
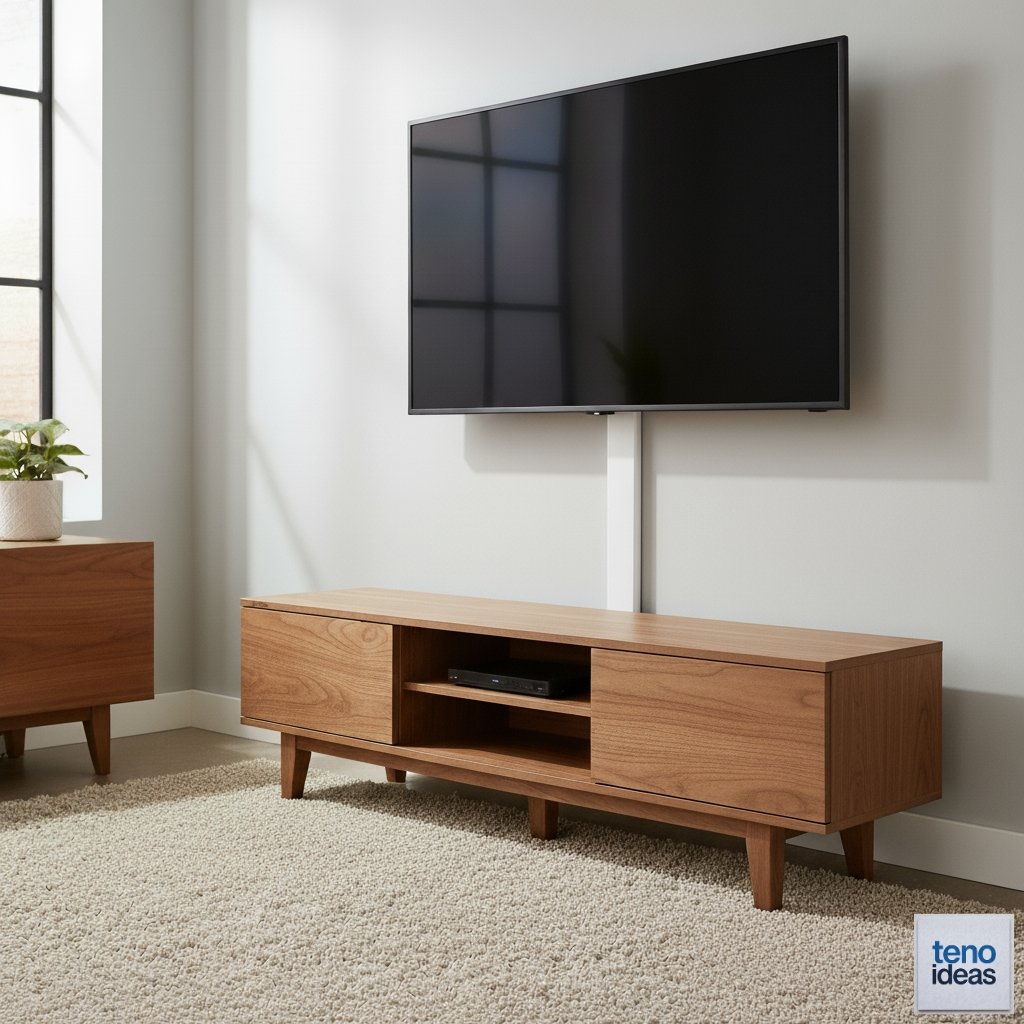
Strategic furniture placement can hide TV cords without any installation. This works well when you have a console table, bookshelf, or entertainment center below your mounted TV.
How to Route Cables Behind Furniture:
- Position your furniture 2-3 inches from the wall
- Drop cables down behind the TV mount
- Guide wires along the back edge of furniture
- Use cable clips to secure wires to furniture backs
- Route to outlets behind or beside the furniture piece
This method requires no wall modifications. You can easily change the setup later if needed.
Method 4: Install In-Wall Cable Management Kit
In-wall kits provide the cleanest look by running cables inside your wall. These kits include entry and exit plates with built-in cable guides.
Required Tools and Materials:
- In-wall cable kit
- Stud finder
- Drywall saw
- Level
- Screwdriver
- Wire fish tape (if needed)
Installation Steps:
- Locate wall studs using a stud finder
- Mark the top plate position behind your TV
- Mark the bottom plate position near your outlet
- Cut holes for both plates using a drywall saw
- Feed cables through the wall cavity
- Install the plates and secure with screws
- Connect your devices through the new wall outlets
Check local electrical codes before running power cables through walls. Some areas require professional installation for power lines.
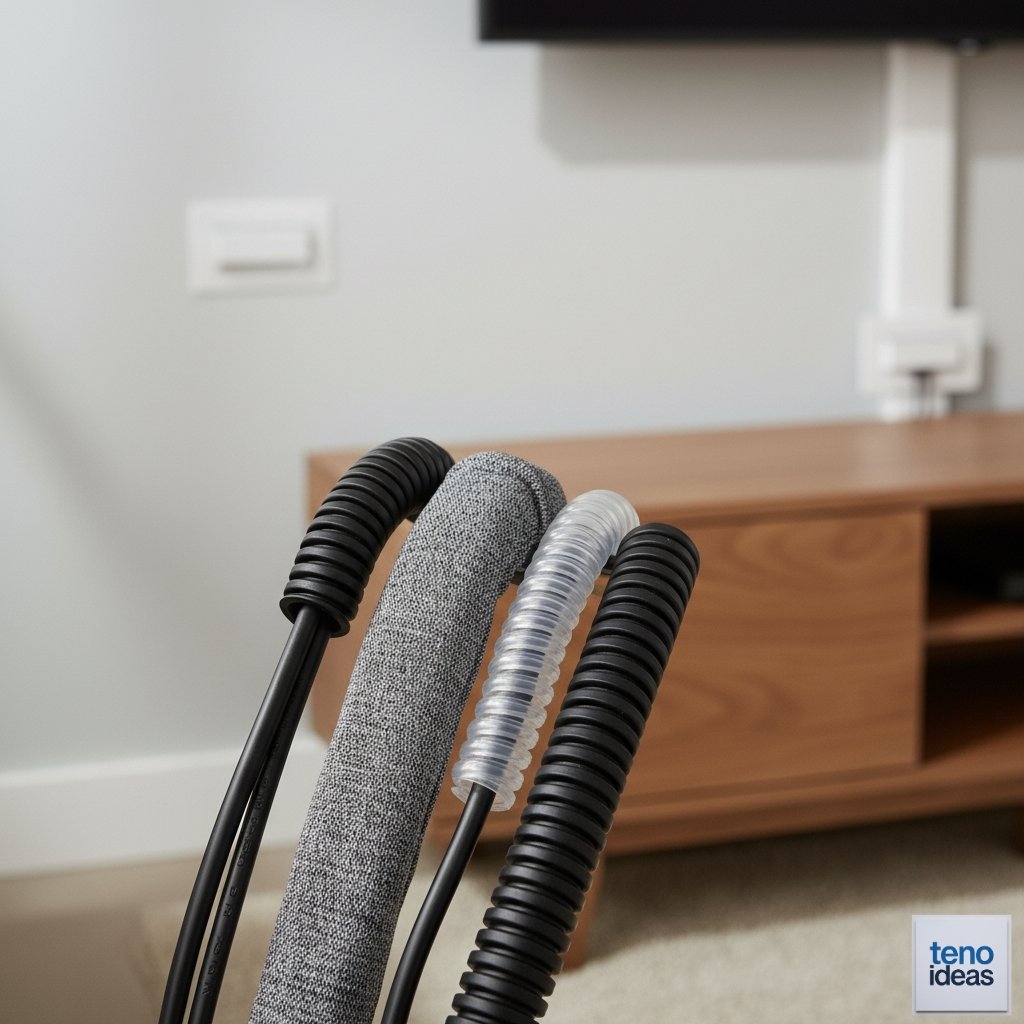
Method 5: Use Decorative Cable Sleeves
Cable sleeves wrap around multiple cords to create one neat bundle. They come in fabric, spiral, or split-tube designs.
Types of Cable Sleeves:
Fabric Sleeves:
- Expandable mesh material
- Available in multiple colors
- Easy to install and remove
Spiral Wrap:
- Plastic coil design
- Allows easy cable additions
- More industrial appearance
Split-Tube Sleeves:
- Opens along one side
- Quick installation
- Reusable design
Installation Process:
- Gather all TV cables into one group
- Measure the total length needed
- Cut the sleeve to size if required
- Insert cables into the sleeve opening
- Position the bundled cables along your desired path
- Secure with clips every 12-18 inches
Method 6: Create a Faux Column or Beam
Building a decorative column disguises TV cables while adding architectural interest to your room.
Materials Needed:
- Wood boards (1×3 or 1×4)
- Wood glue
- Finishing nails
- Paint or stain
- Cable routing space
Construction Steps:
- Plan the column dimensions to hide all cables
- Cut wood pieces for front, sides, and backing
- Create a hollow interior for cable routing
- Assemble the frame using wood glue and nails
- Route cables through the hollow center
- Mount to wall at top and bottom
- Paint or stain to match your room décor
This method requires basic carpentry skills but creates a permanent, attractive solution.
Method 7: Use Crown Molding or Chair Rail
Existing or new molding provides a natural place to hide TV cables. This works especially well with traditional or formal room styles.
Installation Approach:
- Choose molding style that complements your room
- Route cables along the top edge of existing molding
- Install additional molding if needed for cable pathway
- Paint molding to match existing trim
- Secure cables with small clips underneath
Run cables along the back edge where they’re less visible. This method blends seamlessly with traditional décor styles.
Method 8: Install a Cable Bridge
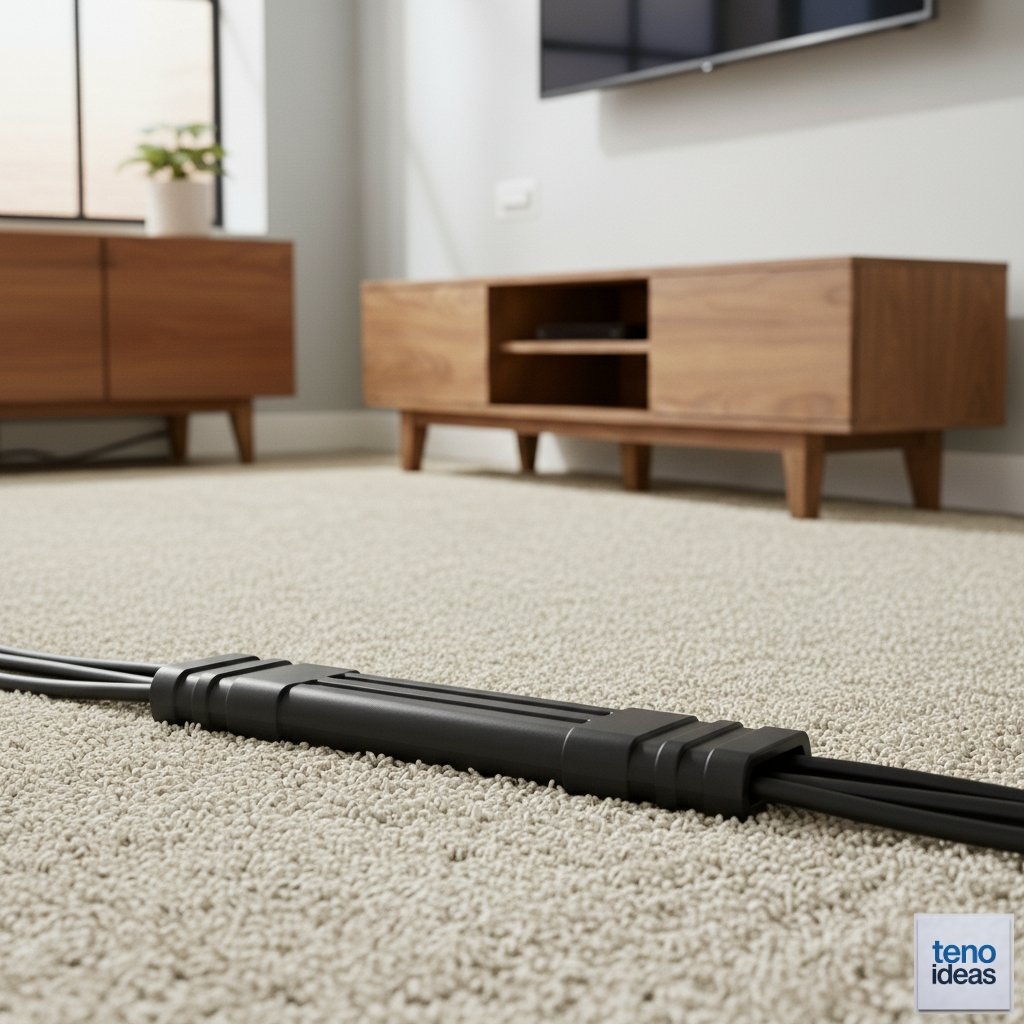
Cable bridges span gaps between furniture pieces or across doorways. They protect cables while keeping them organized.
When to Use Cable Bridges:
- Crossing walkways
- Spanning between furniture
- Protecting cables from foot traffic
- Temporary installations
Installation Tips:
- Choose appropriate bridge size for your cable bundle
- Position at floor level or furniture height
- Secure both ends to prevent movement
- Route cables through the bridge channel
- Test the pathway before final installation
Bridges come in various materials including rubber, plastic, and metal options.
Pro Tips for Success
- Plan Your Route First: Map out the cable path before starting any installation. Consider future changes or additions.
- Leave Extra Length: Keep some slack in your cables for adjustments or equipment changes.
- Label Your Cables: Use tags or colored tape to identify different connections.
- Use Quality Materials: Invest in good cord covers and clips that won’t fail over time.
- Consider Future Needs: Plan for additional cables you might add later.
- Check Building Codes: Verify local requirements before running cables through walls.
Common Mistakes to Avoid
- Don’t mix power and data cables in the same raceway. This can cause interference and may violate electrical codes.
- Avoid over-bending cables. Sharp turns can damage internal wires and affect signal quality.
- Don’t use too many adhesive products on painted walls. They can damage the paint when removed.
- Skip the cheapest options for permanent installations. Quality materials last longer and look better.
Your Next Steps to Cable-Free Living
Choose the method that best fits your skill level and room setup. Start with simple adhesive covers if you’re new to DIY projects. More experienced DIYers can tackle in-wall installations for the cleanest look.
Gather your materials and set aside 1-2 hours for most projects. Take your time with measurements and planning. A well-executed cable management system will keep your mounted TV looking great for years to come.
Your living space deserves that clean, modern look you envisioned when you first mounted your TV. These eight methods give you the tools to make it happen.