The kitchen is often called the heart of the home, but it’s also the magnet for the biggest messes.
While we wipe down our countertops and sweep the floors daily, our cabinets often get overlooked.
Over time, cooking grease, steam, dust, and sticky fingerprints layer together to create a dull film that can make even a beautiful kitchen look tired.
If your cabinets are feeling sticky to the touch or looking a little lackluster, don’t worry-you don’t need expensive professionals or harsh industrial chemicals to fix it.
With a little elbow grease and the right technique, you can restore their original shine.
Follow this simple step-by-step guide to deep clean your kitchen cabinets and make your space feel brand new again.
What You’ll Need
Before you begin, gather the right supplies. Using the correct materials will protect your cabinets from damage and make the cleaning process more effective.

- Mild dish soap or a dedicated cabinet cleaner
- Warm water
- Two soft cloths or sponges
- Dry microfiber cloth
- Old toothbrush or soft-bristled brush (for tough spots)
- Bucket
- Protective gloves (optional)
Step 1: Empty Your Cabinets

- Before you start cleaning, remove all items from the cabinets you plan to clean.
- This will give you full access to all surfaces and prevent any cleaning solutions from getting on your food or dishes.
Step 2: Dust and Vacuum

- Use a dry, soft cloth or a vacuum cleaner with a brush attachment to remove any loose dust, crumbs, or debris from the inside and outside of the cabinets.
- Don’t forget the tops of the cabinets, where dust loves to settle!
Step 3: Prepare Your Cleaning Solution
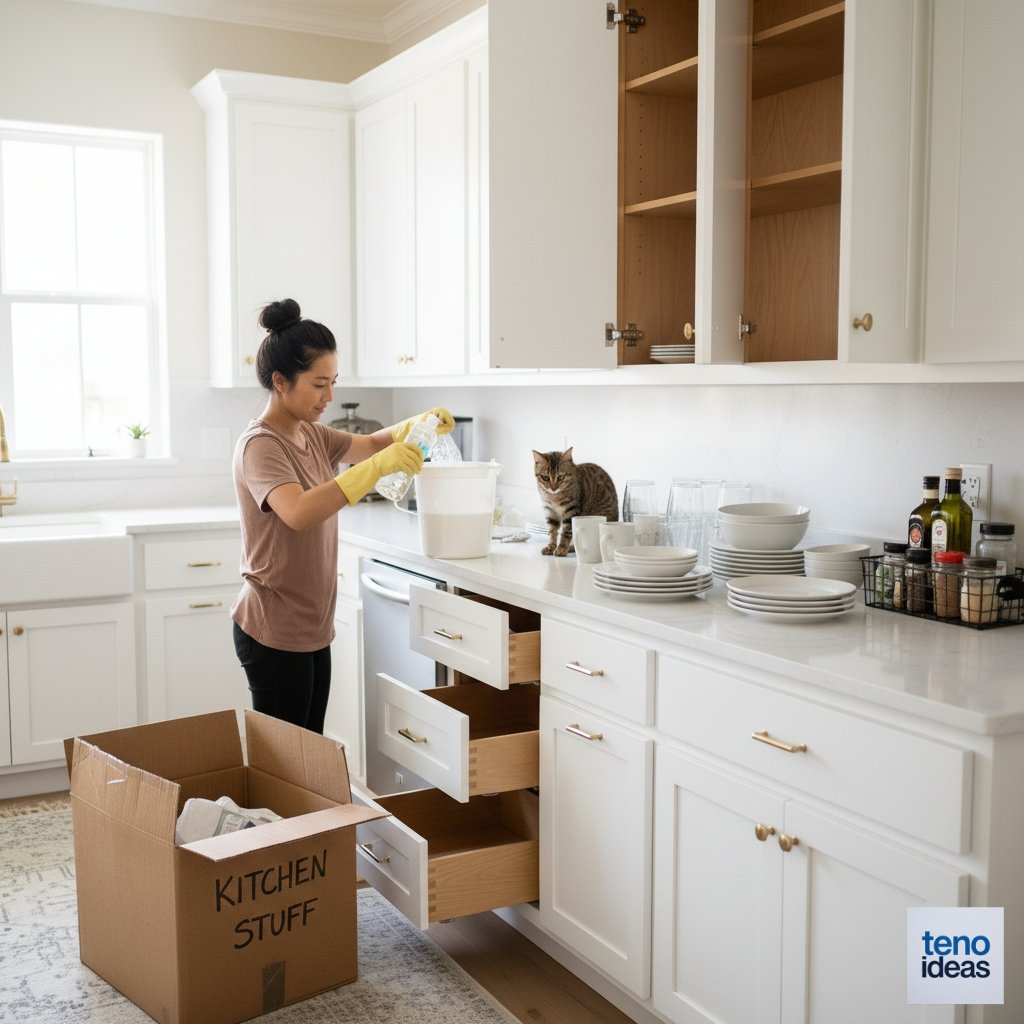
- For most cabinet types (wood, laminate, painted), a simple solution of warm water and a few drops of mild dish soap works wonders.
- Mix it in a bucket until suds form.
- If you have particularly greasy cabinets, you can opt for a dedicated kitchen degreaser or cabinet cleaner, following the product’s instructions.
Step 4: Wipe Down Cabinets

- Dip one of your soft cloths or sponges into the cleaning solution, wring it out thoroughly so it’s damp but not dripping wet.
- Start wiping down the cabinet surfaces, working from top to bottom.
- Pay extra attention to areas around handles and knobs, where grease and fingerprints tend to accumulate.
- For stubborn grime or tight corners, use an old toothbrush or soft-bristled brush dipped in the cleaning solution.
Step 5: Rinse with Clean Water

- This is a crucial step that is often skipped! Soap residue can leave a haze on your cabinets or attract more dirt later.
- Take a second clean cloth or sponge, dampen it with plain warm water (no soap), and wipe over the surfaces you just cleaned to remove any lingering suds or cleaner.
Step 6: Dry Thoroughly

- Moisture is the enemy of wood and laminate cabinets.
- Take a dry, clean microfiber cloth and immediately dry the surfaces you just rinsed.
- Buffing them dry prevents water spots, warping, and paint damage, leaving your cabinets looking polished and streak-free.
Step 7: Clean Hardware and Reorganize
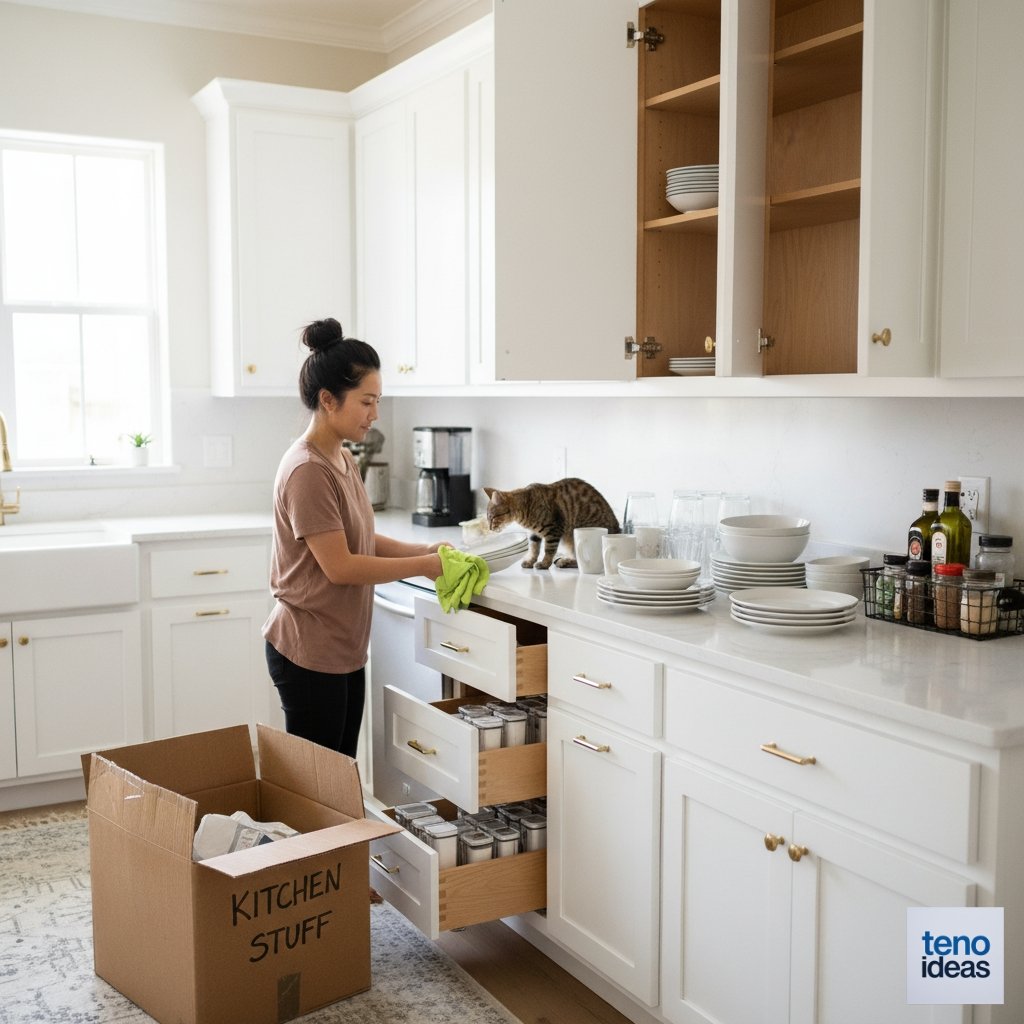
- Finally, give your knobs and handles a quick polish with your damp cloth to remove sticky fingerprints.
- Once everything is completely dry, you can place your items back into the cabinets.
- This is a great opportunity to declutter and organize your kitchen essentials as you put them away!
Enjoy Your Fresh, Sparkling Kitchen!
Step back and take a look-what a difference a deep clean makes! Not only do your cabinets look brighter and cleaner, but removing that layer of old grease also helps protect the finish and extends the life of your cabinetry.
To keep them looking this good, try to spot-clean spills as soon as they happen and give the hardware a quick wipe-down during your weekly cleaning routine.
A full deep clean like this is recommended just once or twice a year. Now that the hard work is done, it’s time to relax and enjoy your fresh, organized, and sparkling clean kitchen.


